VirtualBox安装Mac OS 10.11 ,安装日期:2016 / 5 / 14
用虚拟机装黑苹果本人也装了不下3次了,这次为了做这个教程还特意把virtualbox和旧版的Mac OS删了,重新再装一遍。
所以保证能运行,不像网上其他教程都是导出复制,还不要脸的贴个原创。
VirtualBox是官网下的最新版: 5.0.20 for Windows hosts x86/amd64 官网网址是: https://www.virtualbox.org/wiki/Downloads
2016年3月26日更新 OSX 10.11.4: 正式版官网下载地址: https://itunes.apple.com/WebObjects/MZStore.woa/wa/viewSoftware?id=1018109117&mt=12&ls=1
如果嫌官网慢,也可以下载这个迅雷种子 OS X 10.11 El Capitan GM Candidate.torrent
- 创建虚拟机

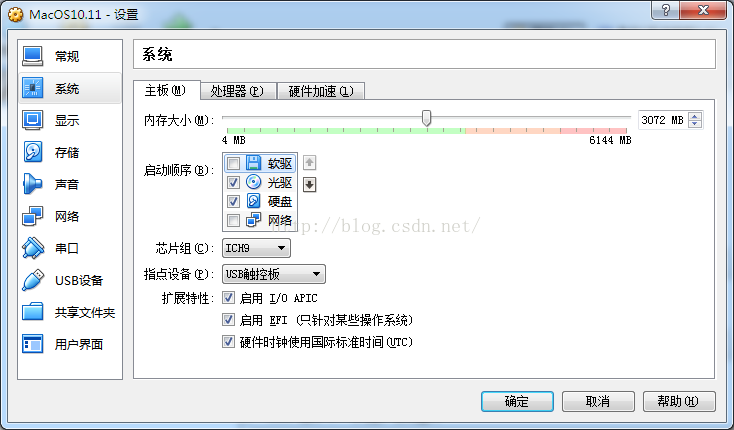
- 取消 "启动顺序" 中的软驱。(注意:内存大小要根据自身需求而定,我电脑是win7 64位,有6G内存,所以我给苹果占3G内存)
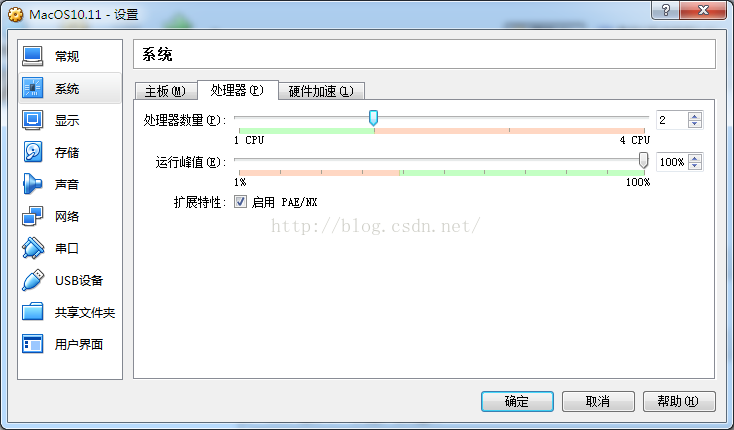
- 如果你的机器是4核,可选择双核 CPU 数量 = 2(当然默认设置1也是可以的,只是运行速度快慢而已)
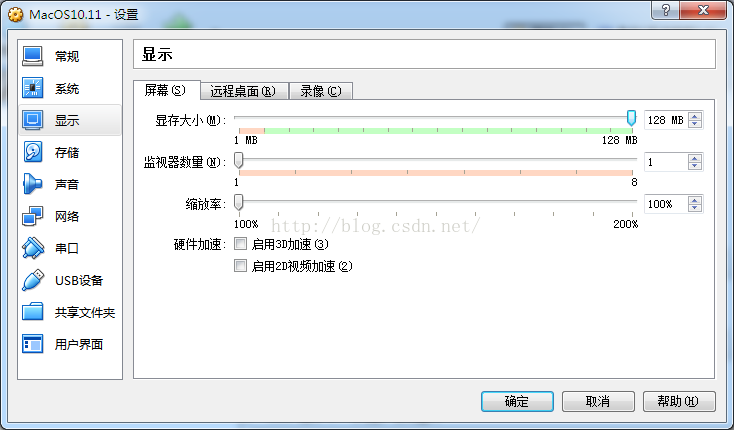
- 设置显存为128M(太小的话刷新图像会很卡)
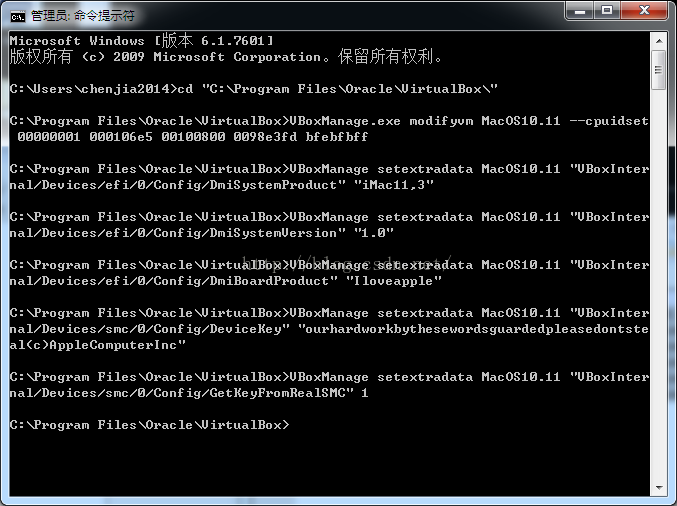
- 这时候关闭Virtualbox,以管理员的身份打开 "命令提示符"(俗称cmd),输入以下内容:
cd "C:\Program Files\Oracle\VirtualBox\"
VBoxManage.exe modifyvm MacOS10.11 --cpuidset 00000001 000106e5 00100800 0098e3fd bfebfbff
VBoxManage setextradata MacOS10.11 "VBoxInternal/Devices/efi/0/Config/DmiSystemProduct" "iMac11,3"
VBoxManage setextradata MacOS10.11 "VBoxInternal/Devices/efi/0/Config/DmiSystemVersion" "1.0"
VBoxManage setextradata MacOS10.11 "VBoxInternal/Devices/efi/0/Config/DmiBoardProduct" "Iloveapple"
VBoxManage setextradata MacOS10.11 "VBoxInternal/Devices/smc/0/Config/DeviceKey" "ourhardworkbythesewordsguardedpleasedontsteal(c)AppleComputerInc"
VBoxManage setextradata MacOS10.11 "VBoxInternal/Devices/smc/0/Config/GetKeyFromRealSMC" 1
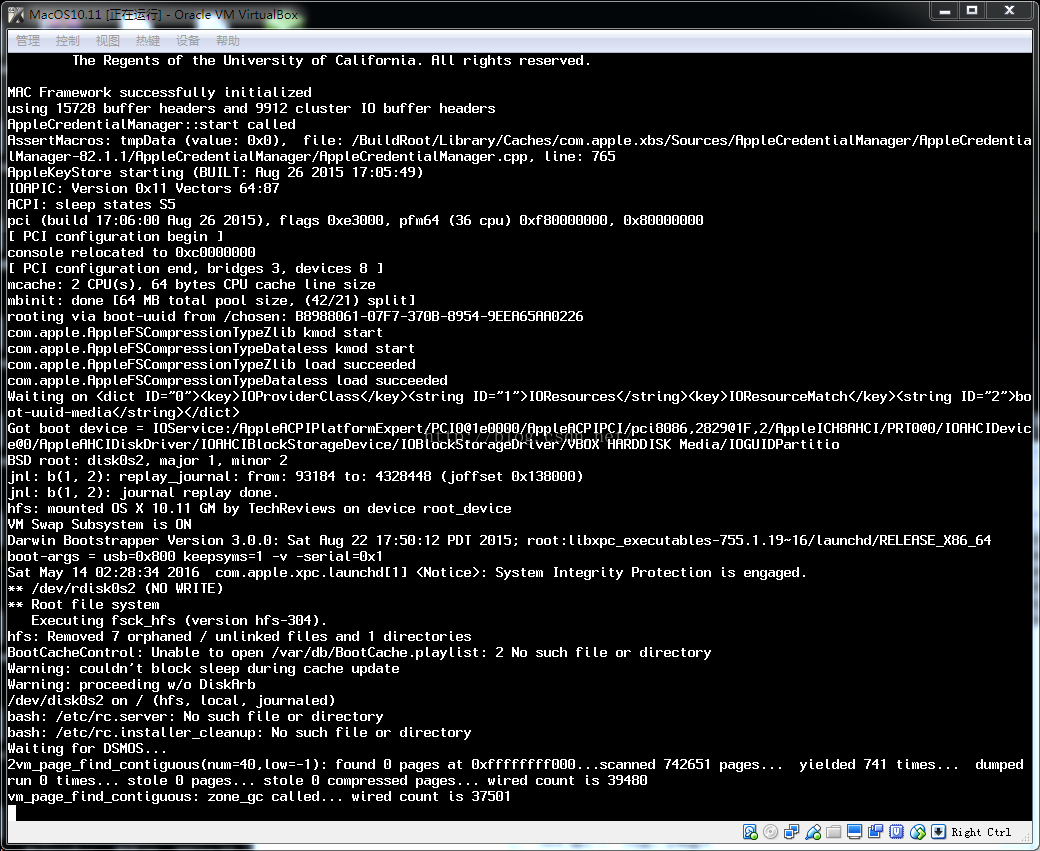
- 关闭命令行,重新打开VirtualBox。选中 “MacOS10.11” ,单击 “启动” 按钮,打开虚拟机。这时候苹果会自动初始化,可能有1分钟左右。(如果报错,说明你上面的命令没有输入正确)
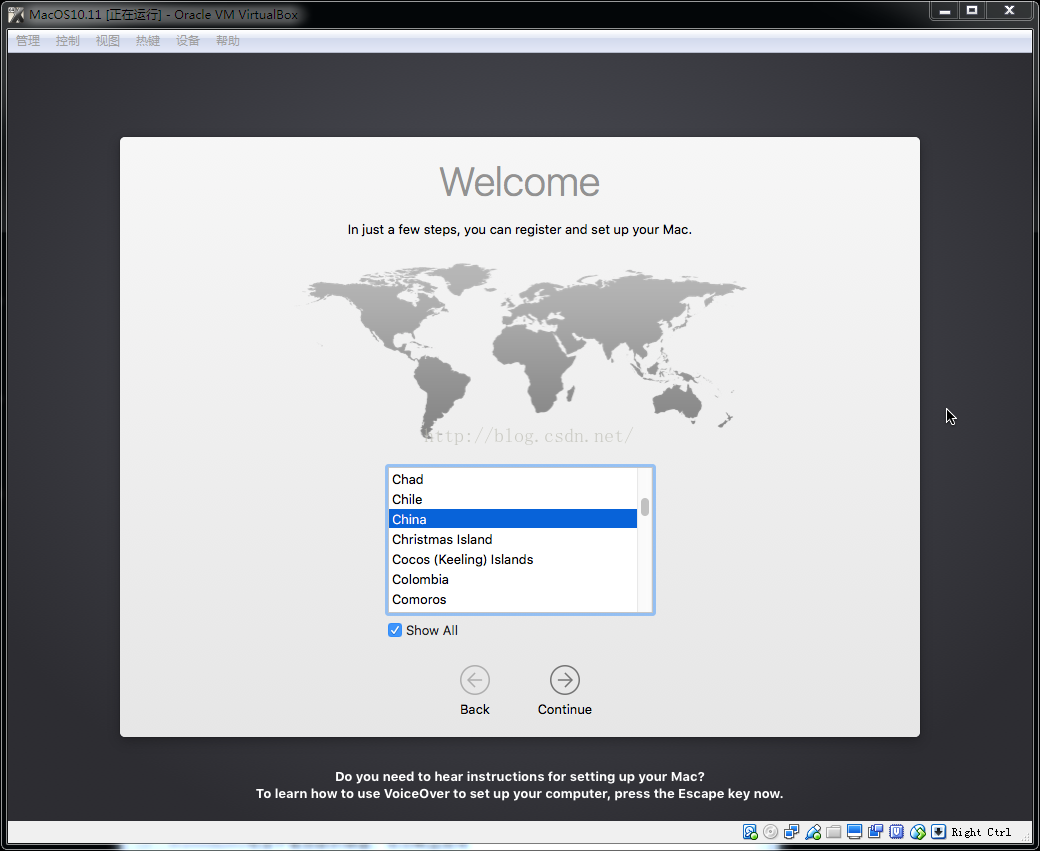
- 选中 "Show All",这样才有 “china” 选项。
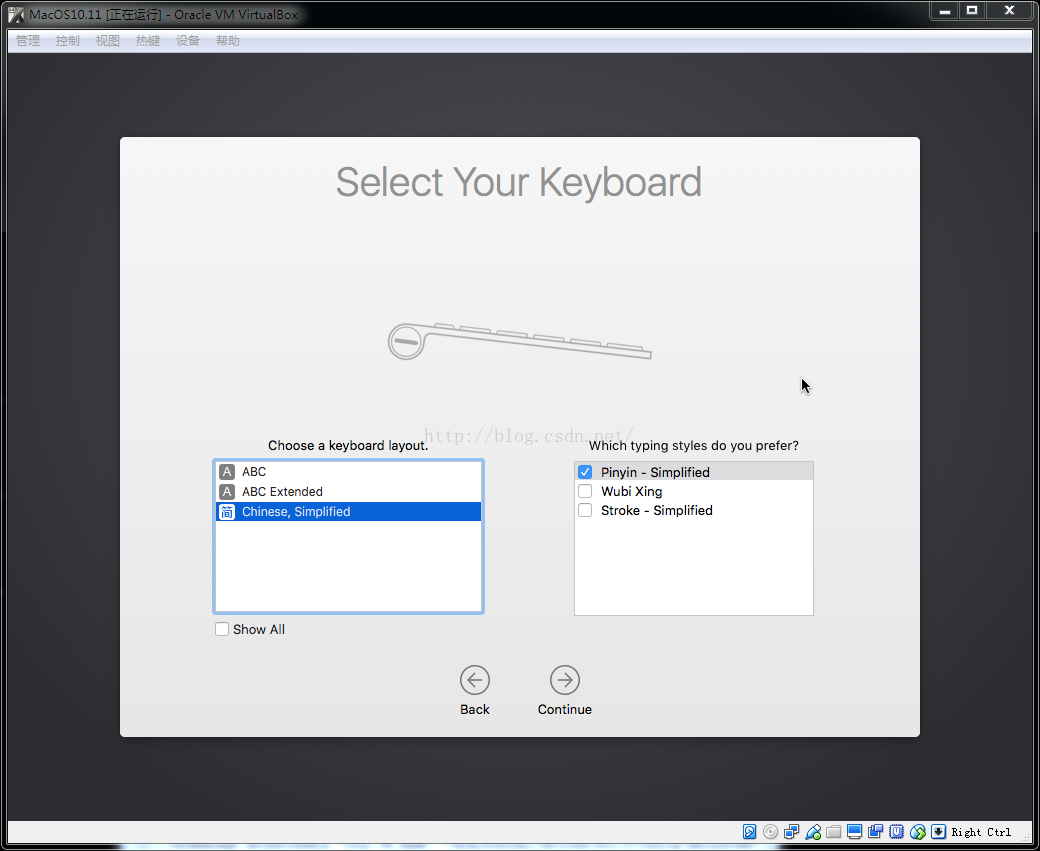
- 键盘选中 “简体中文” -- > "拼音模式"。
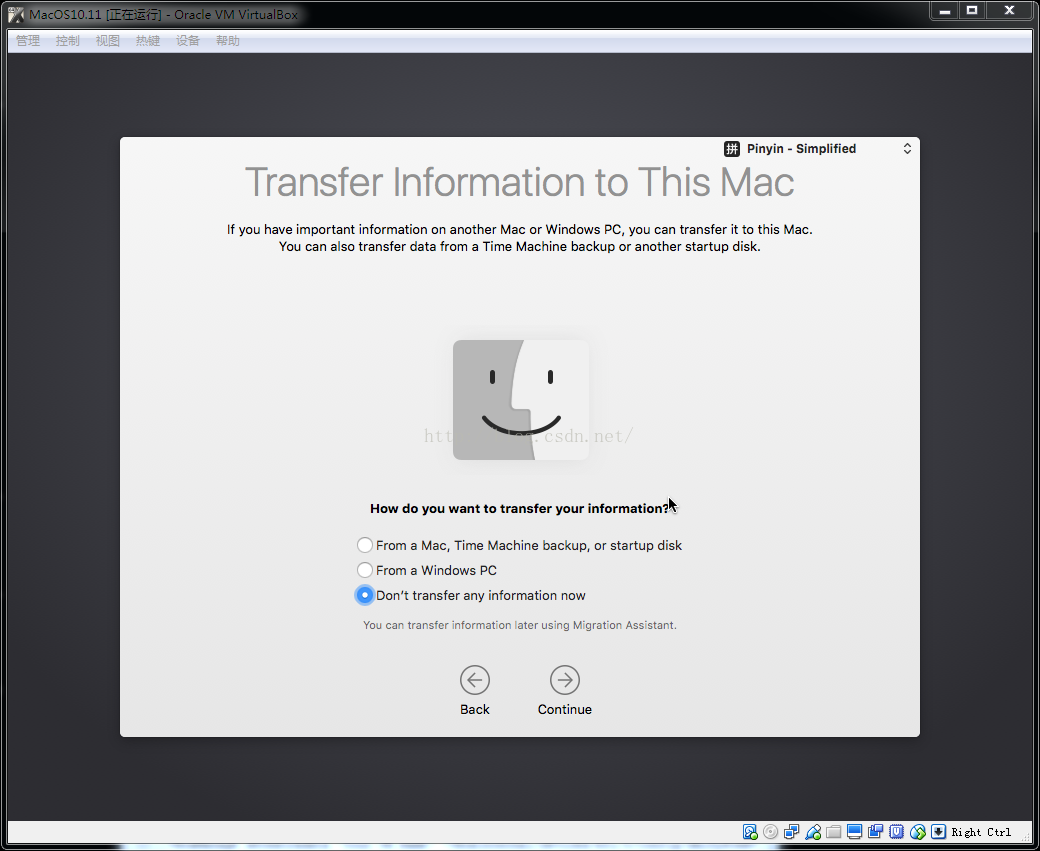
- 是否需要导入其他Mac电脑的信息到该系统中,我选的是 “不需要”
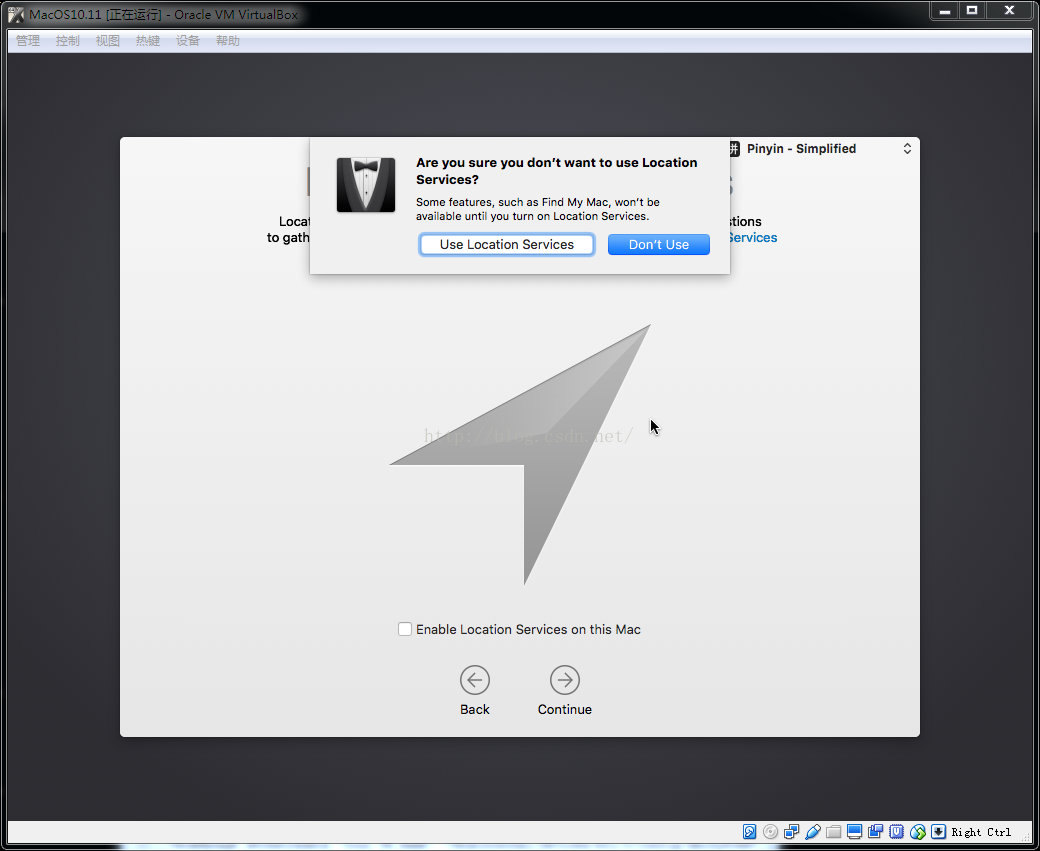
- 是否需要位置服务。我选的是 “Don‘t Use”(不需要)。
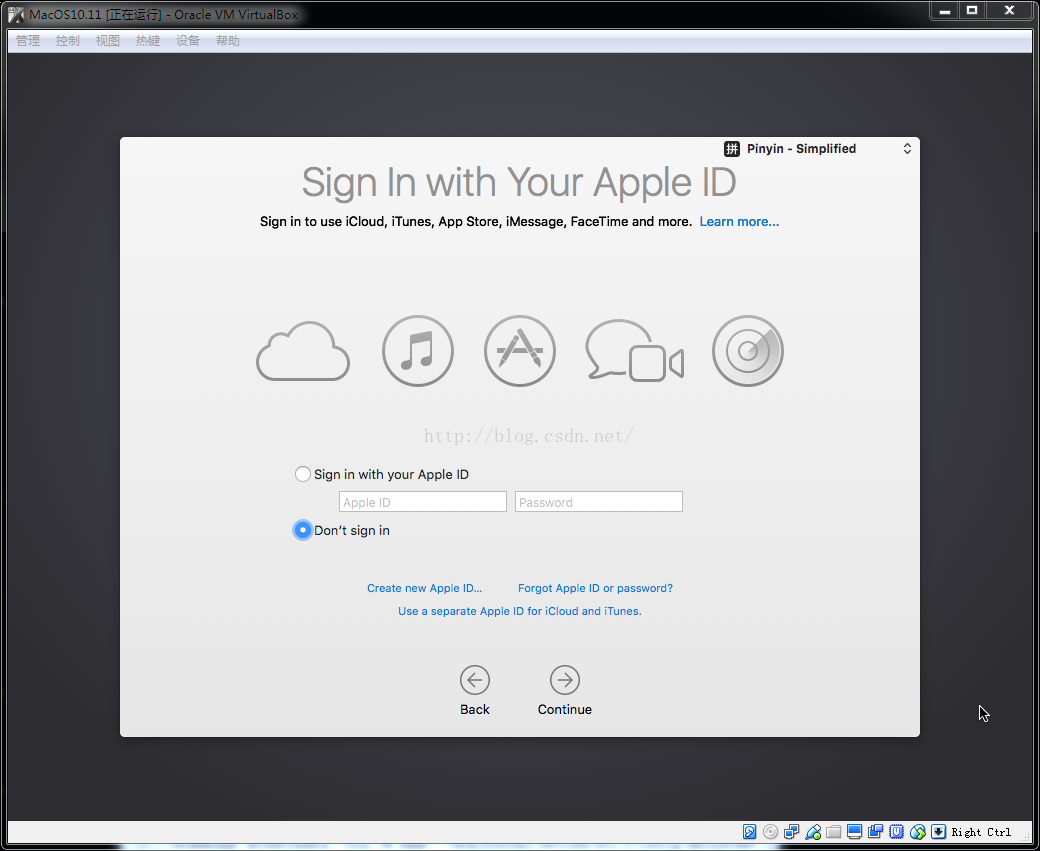
- 输入你的Apple ID,也可以不输入。
- 同意OS X 的软件证书。

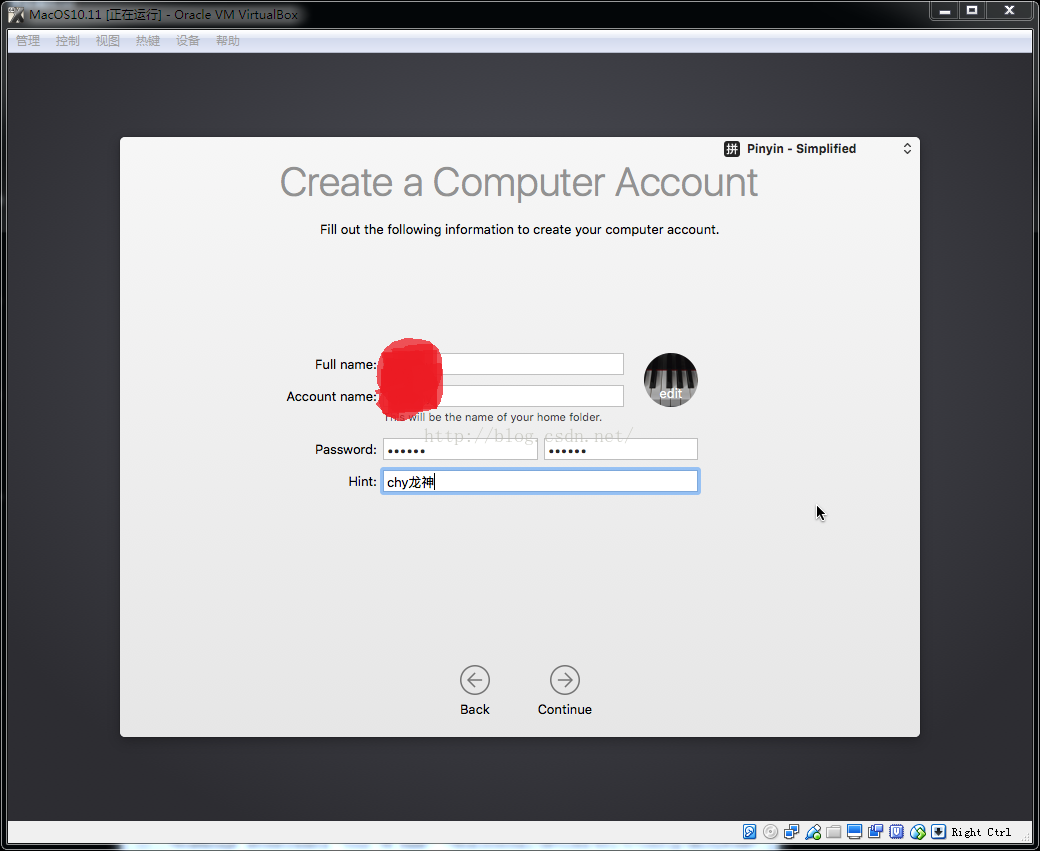
- 创建登录Mac OS 10.11 的账号密码。
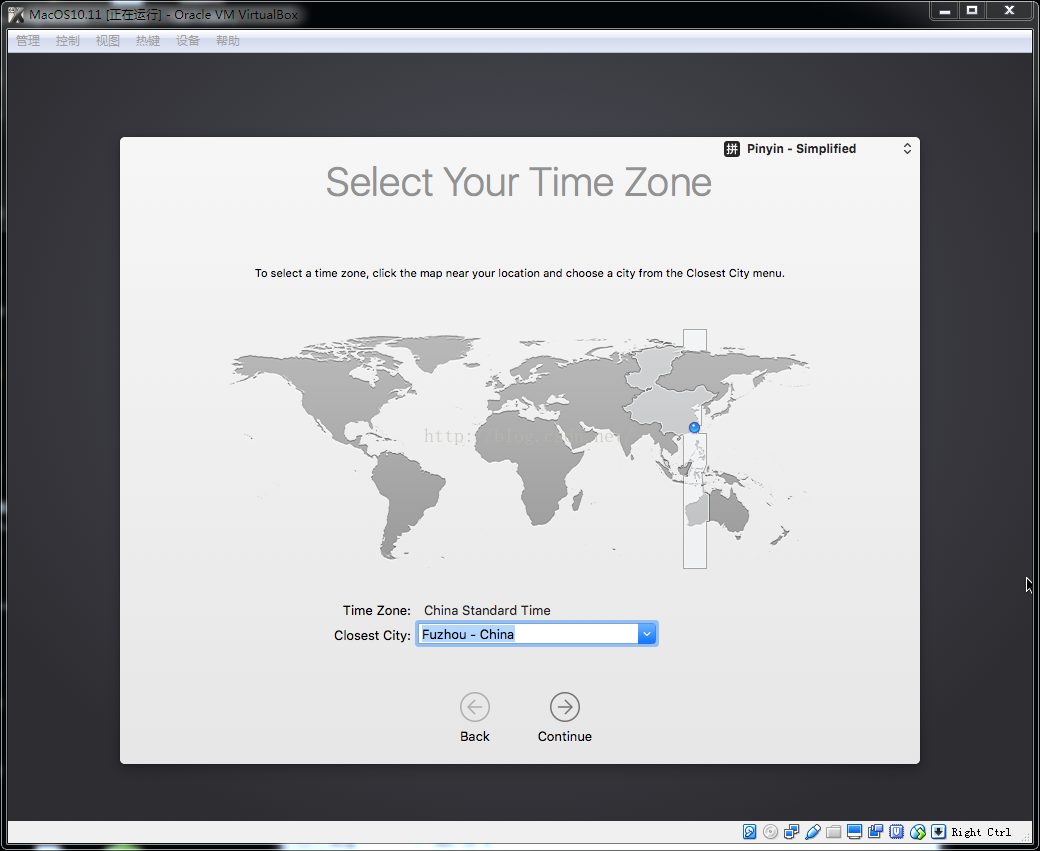
- 选择时区。我是福州人,所以选的是福州。你们也可以选 “北京” 时间。
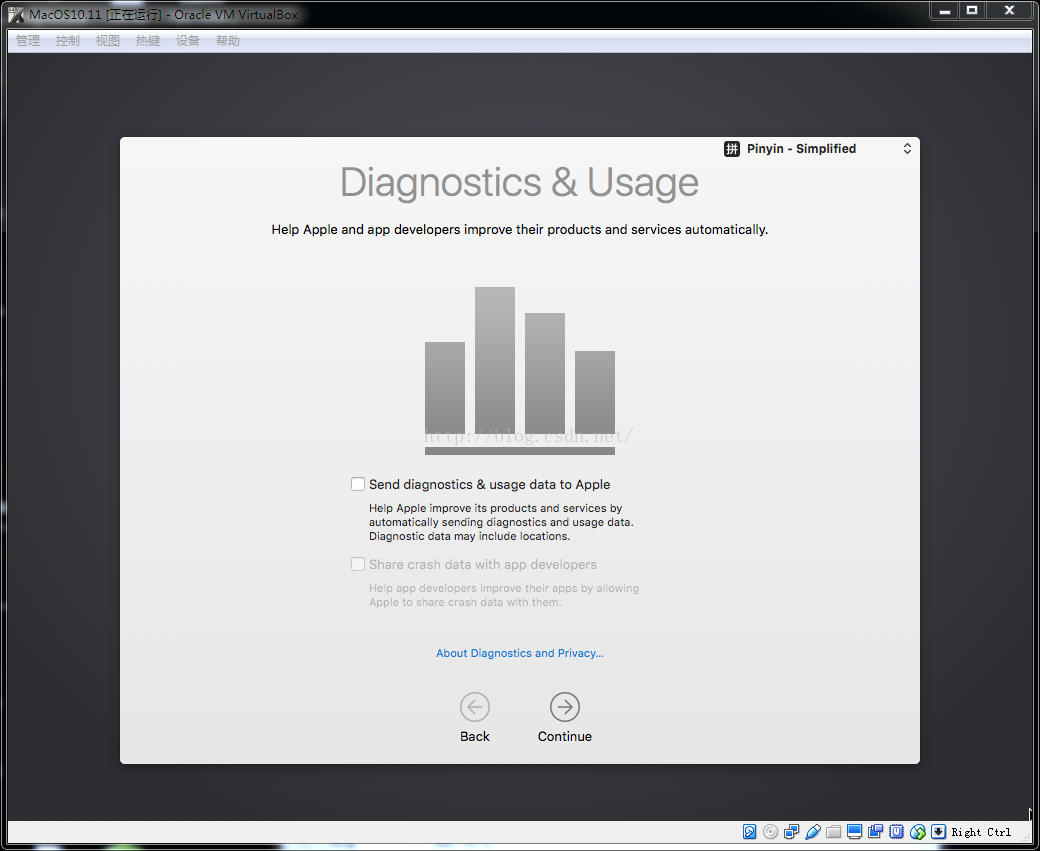
- 你是否需要把你使用电脑的统计信息发送给苹果,我不想发送。
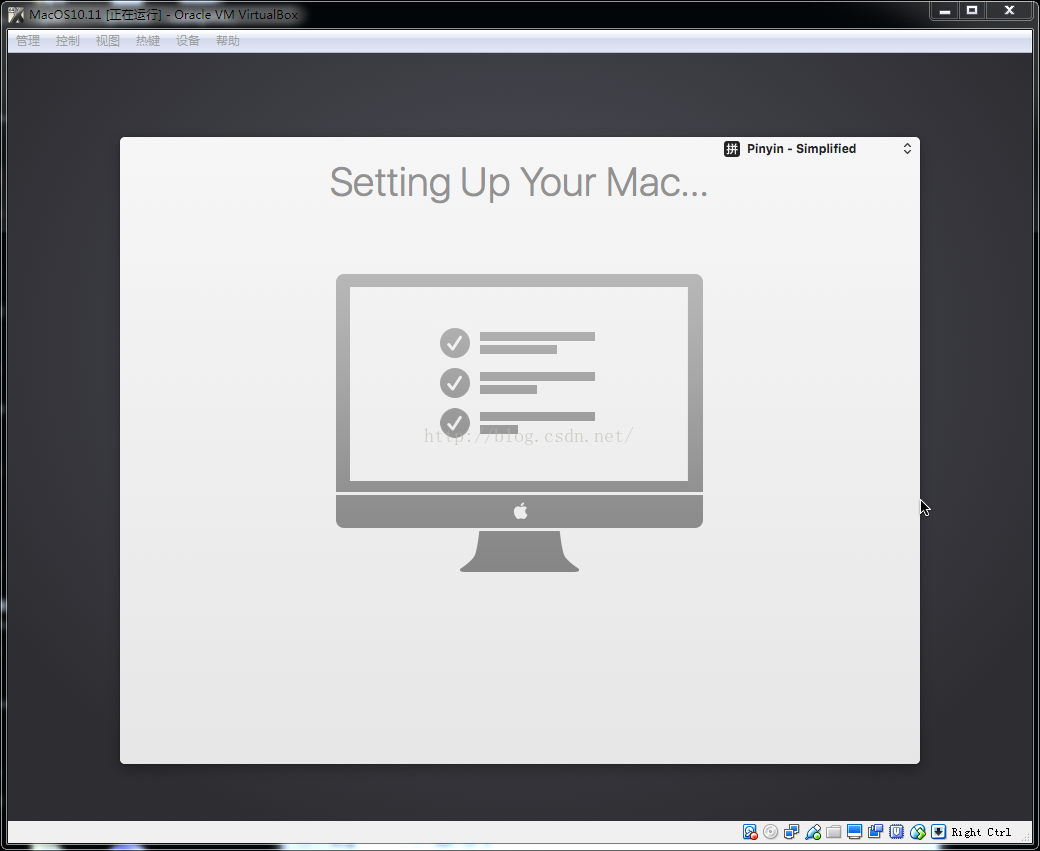
- 开始设置并初始化系统了。。。
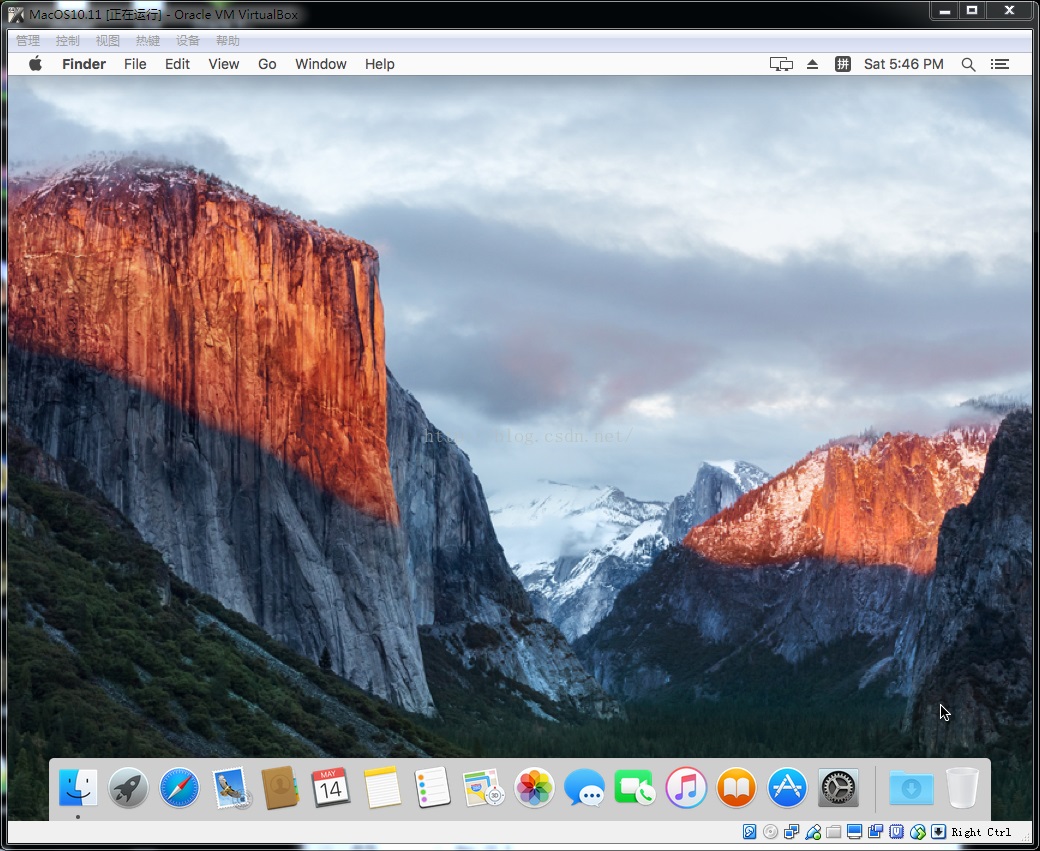
- Ok,Mac OS X 10.11 EI Capitan(El Capitan即酋长石,称“世界上最大的一块裸露在地面上的单体花岗岩”)安装成功。